IMS Web Dwarf is a web-page editor, with several advantages over "standard" applications:
This tutorial leads you through creation of a 4-page web-site, consisting
of an
index page plus 3 linked pages containing pictures - sort of a
mini-photo-album.
The result will work something like this: Volleyball
Starting
If you don't have a copy, you can download Web-Dwarf from
http://www.virtualmechanics.com/products/dwarf/
The first time you start Web-Dwarf, it will load a tutorial You might want to have a look at this.
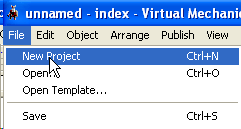
When you are ready, create a new project with [File/New Project].
Tool Bar
Use the tool bar on the left side to insert new components:
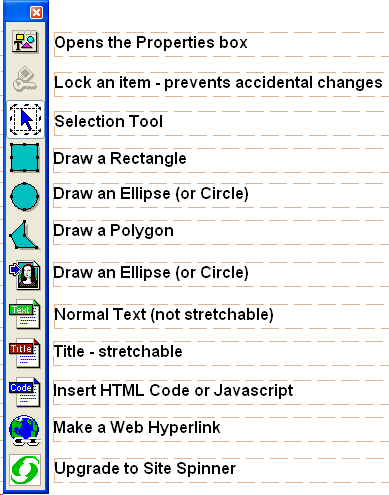
Make a title - click on title, type in the box, and click [OK].
Drag it
to the top of the page, then S-T-R-E-T-C-H the title to make it
bigger.
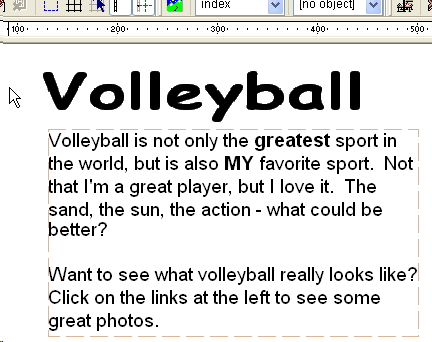
Use the text-box to type some information for the visitor.
The
editing box works like a word processor - use [Bold]
or [Italics], change
fonts, etc. You won't be able to insert
pictures into the text, but
you can click on Mona Lisa to add
pictures to your page. Now you should
have something like:
Don't worry about the brown borders - they are only guidelines
and won't
appear on the final page.
Time to save it. That is easy enough, but be sure to make a new
folder for
your project. Otherwise you will end up with
a mess of files all over the place.
Make a new folder and save your project.
It saves your work in an .ims file.
Your work is saved in an .ims file. That is not a web-page, but Web-Dwarf
will
create the web-page for you. Click the [Publish] button to create
the
web-page. You will see this:
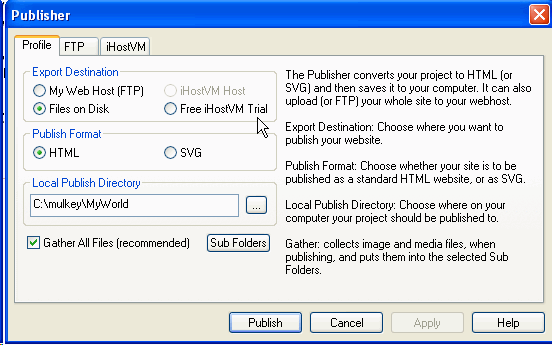
It is important that the Local Publish Directory is set to the SAME FOLDER
where
you saved the .ims file. That isn't required, but you may get confused
if
you don't do it. Click on [...] to find the folder. Then click [Publish].
Now go to My Computer, find your folder, and click on the index.html
file.
It should load in the browser and display just like your design.
Now make a second page containing a picture. Mine would look like this:
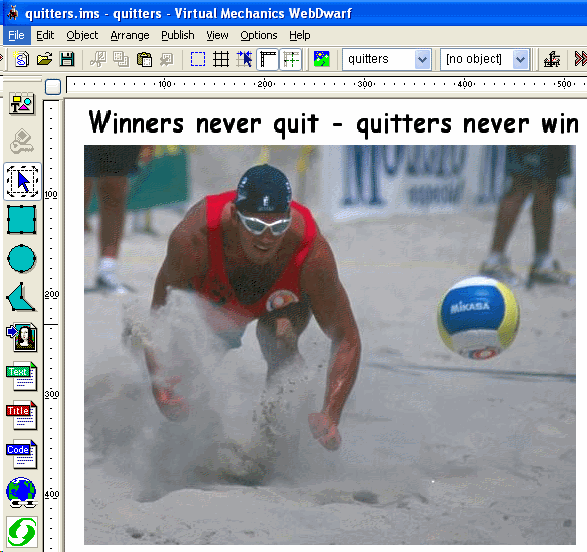
Use the Mona-Lisa button to insert the picture.
Notice that you should type the name of the page (quitters) in the
box in the middle
of the top tool-bar.
Now make a link from the first (index) page to the second (quitter)
page.
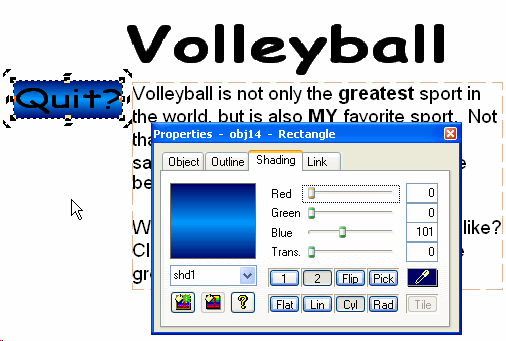
Use the rectangle tool to make a rectangle on the left side.
This will be a button.
Right-click to open the properties box. Choose
shading, click on [Cyl] for
cylindrical gradient shading, and choose
two colors [1] and [2].
Try to make something like this:
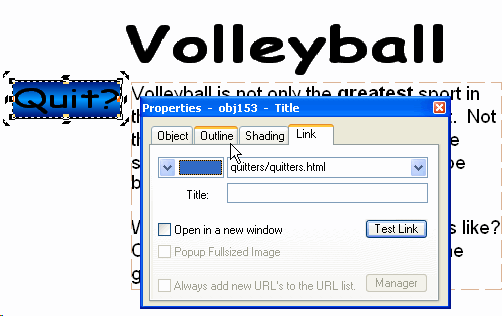
Now put a title on the button - call it "Quit?". Make
sure the title box is as big
as the rectangle.
Click on the "Quit?" title, then click on the Hyperlink
button (globe and chain).
Now you need to TYPE (ouch!) the address of the
other page.
It should be "quitters/quitters.html" if you followed
the instructions.
(Otherwise the will be tough to figure out.)